Monday, November 26, 2012

Places to PLAY!

During our first semester this school year, Kindergarten through Second Grade excitedly explored the possibilities of paper sculpture as they constructed these whimsical structures, inspired by playgrounds, theme parks, and other fun places to play!
We began this unit by discussing the difference between 2-dimensional (2D) art and 3-dimensional (3D) art.  Due to space limitations, we did not have the opportunity to do much of anything sculptural last year, so this was a very exciting topic for my students!  We talked about all different kinds of sculptures (and the materials used to make them) and looked for examples in the classroom.
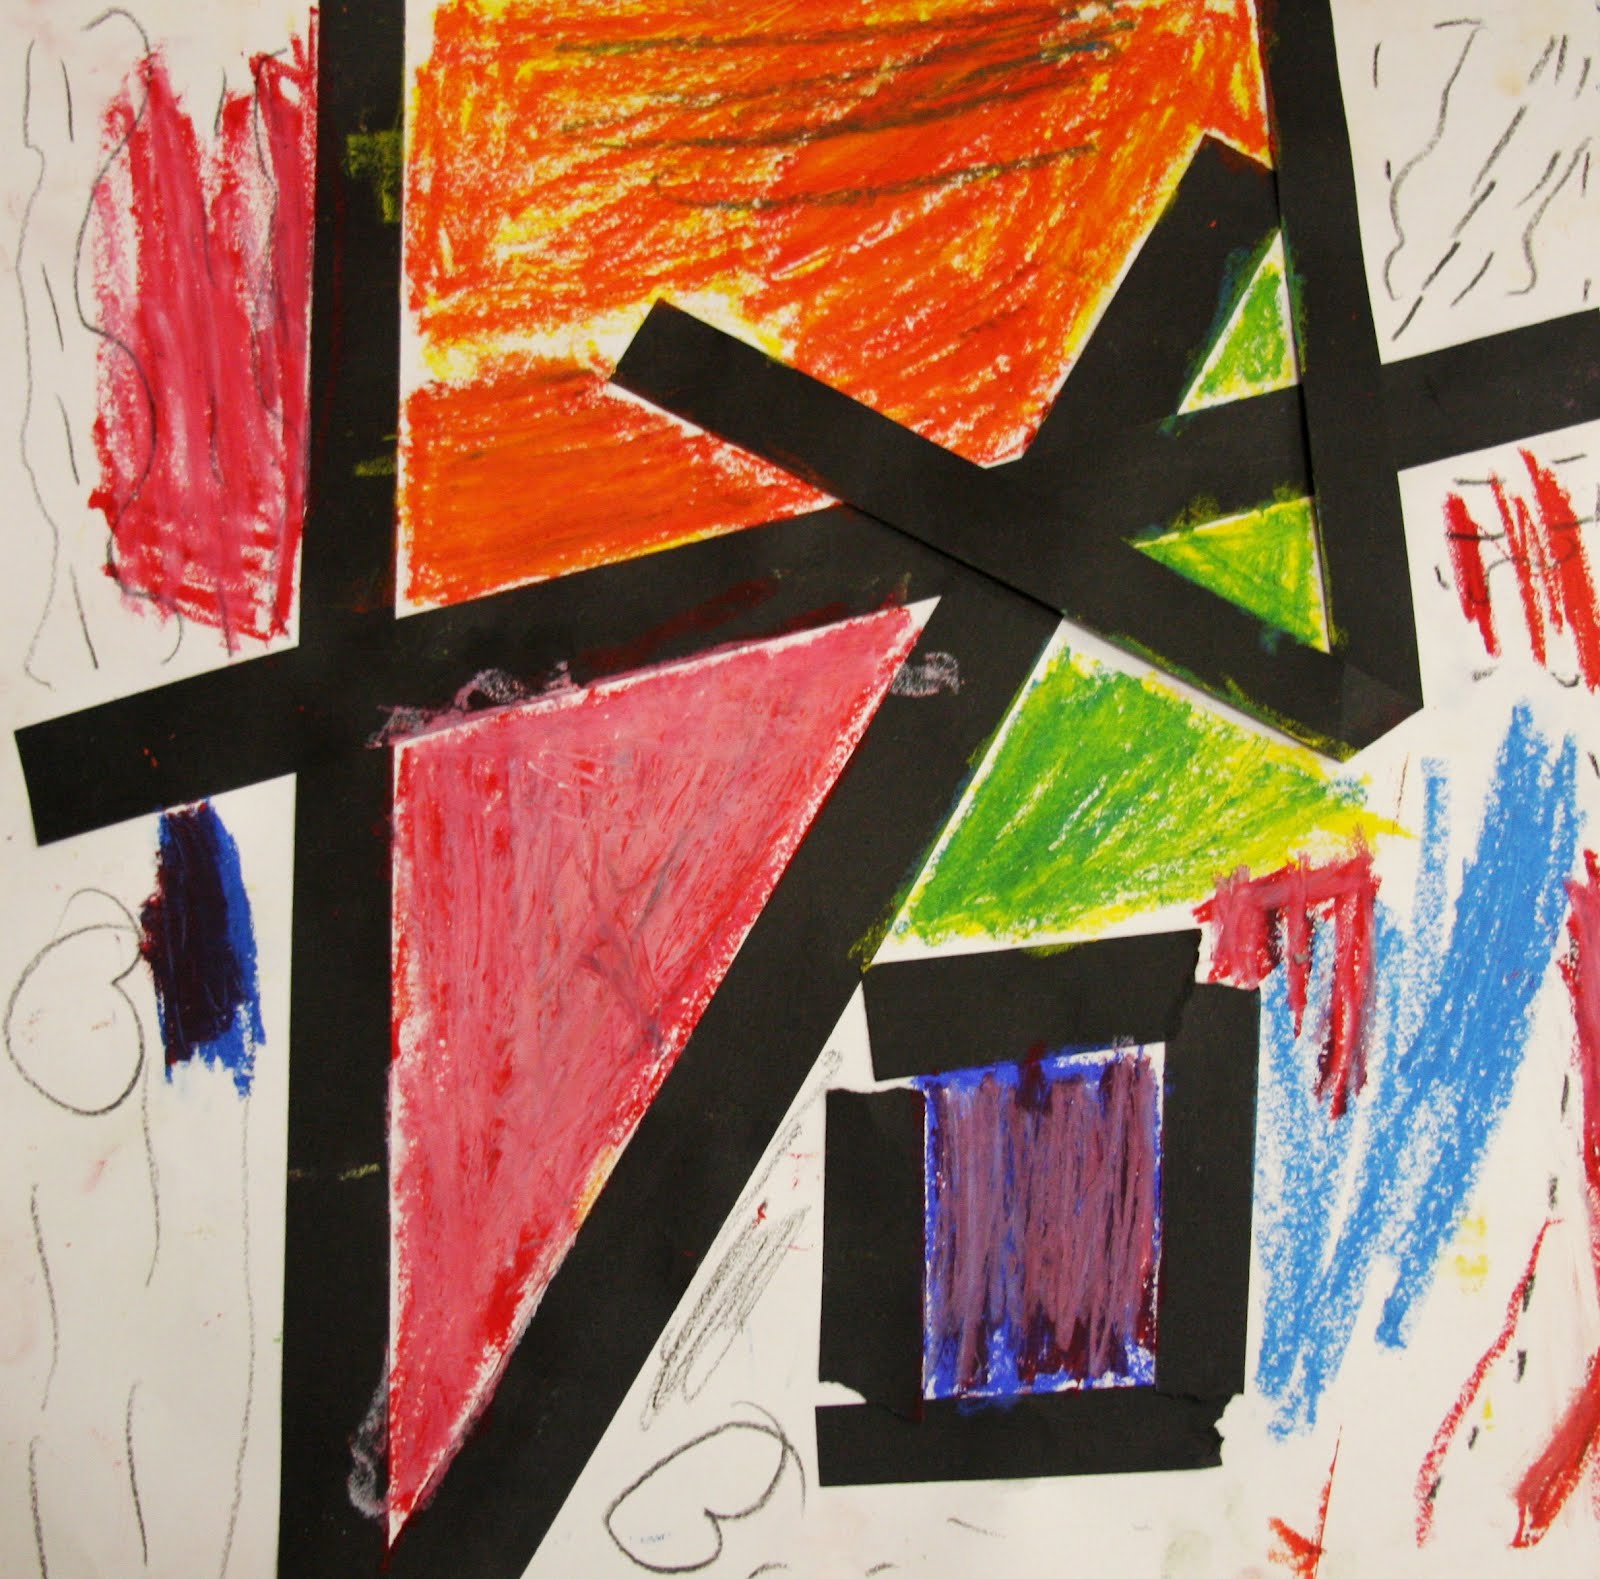
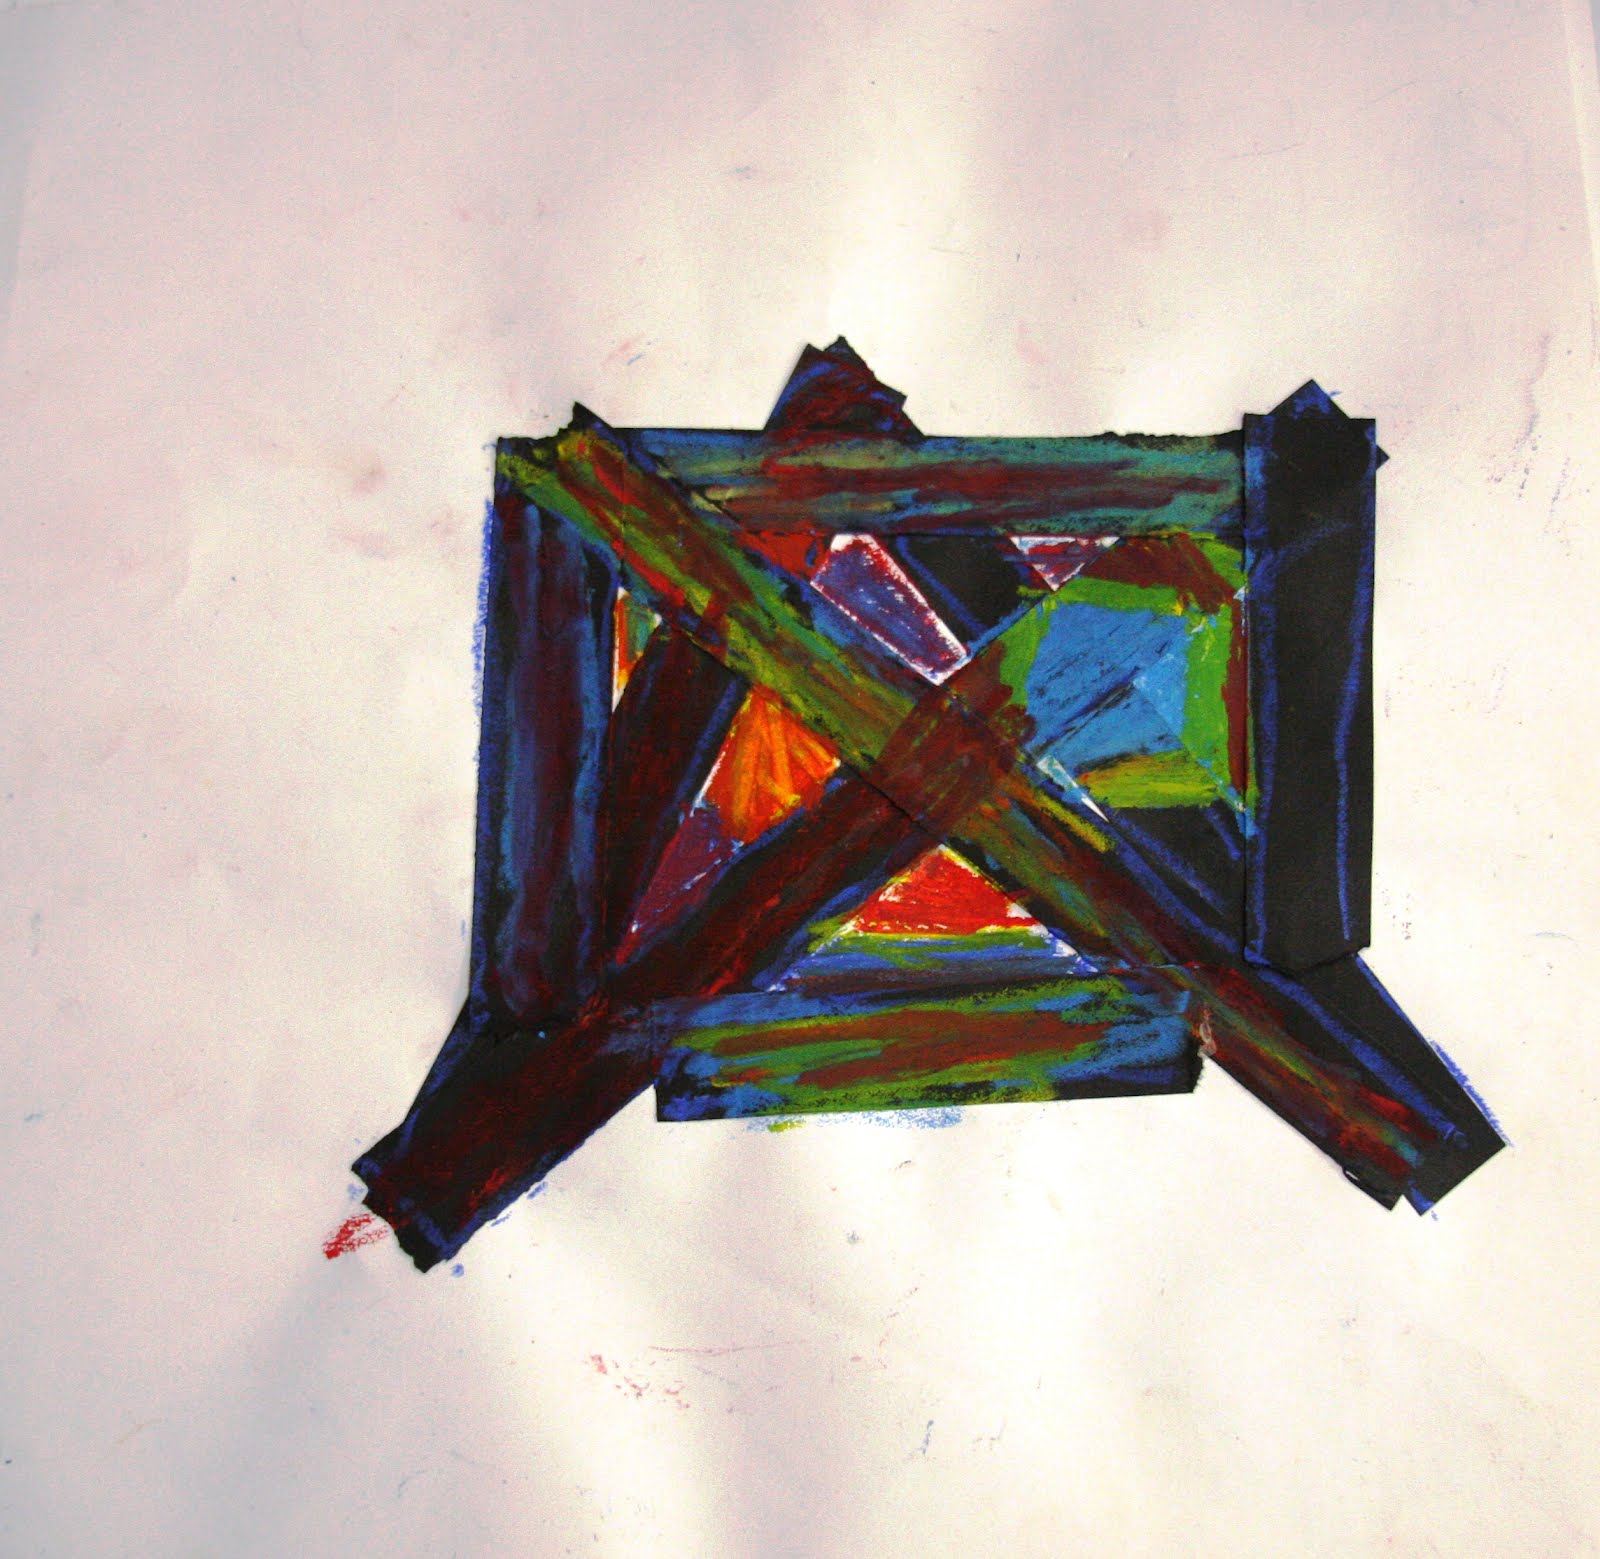
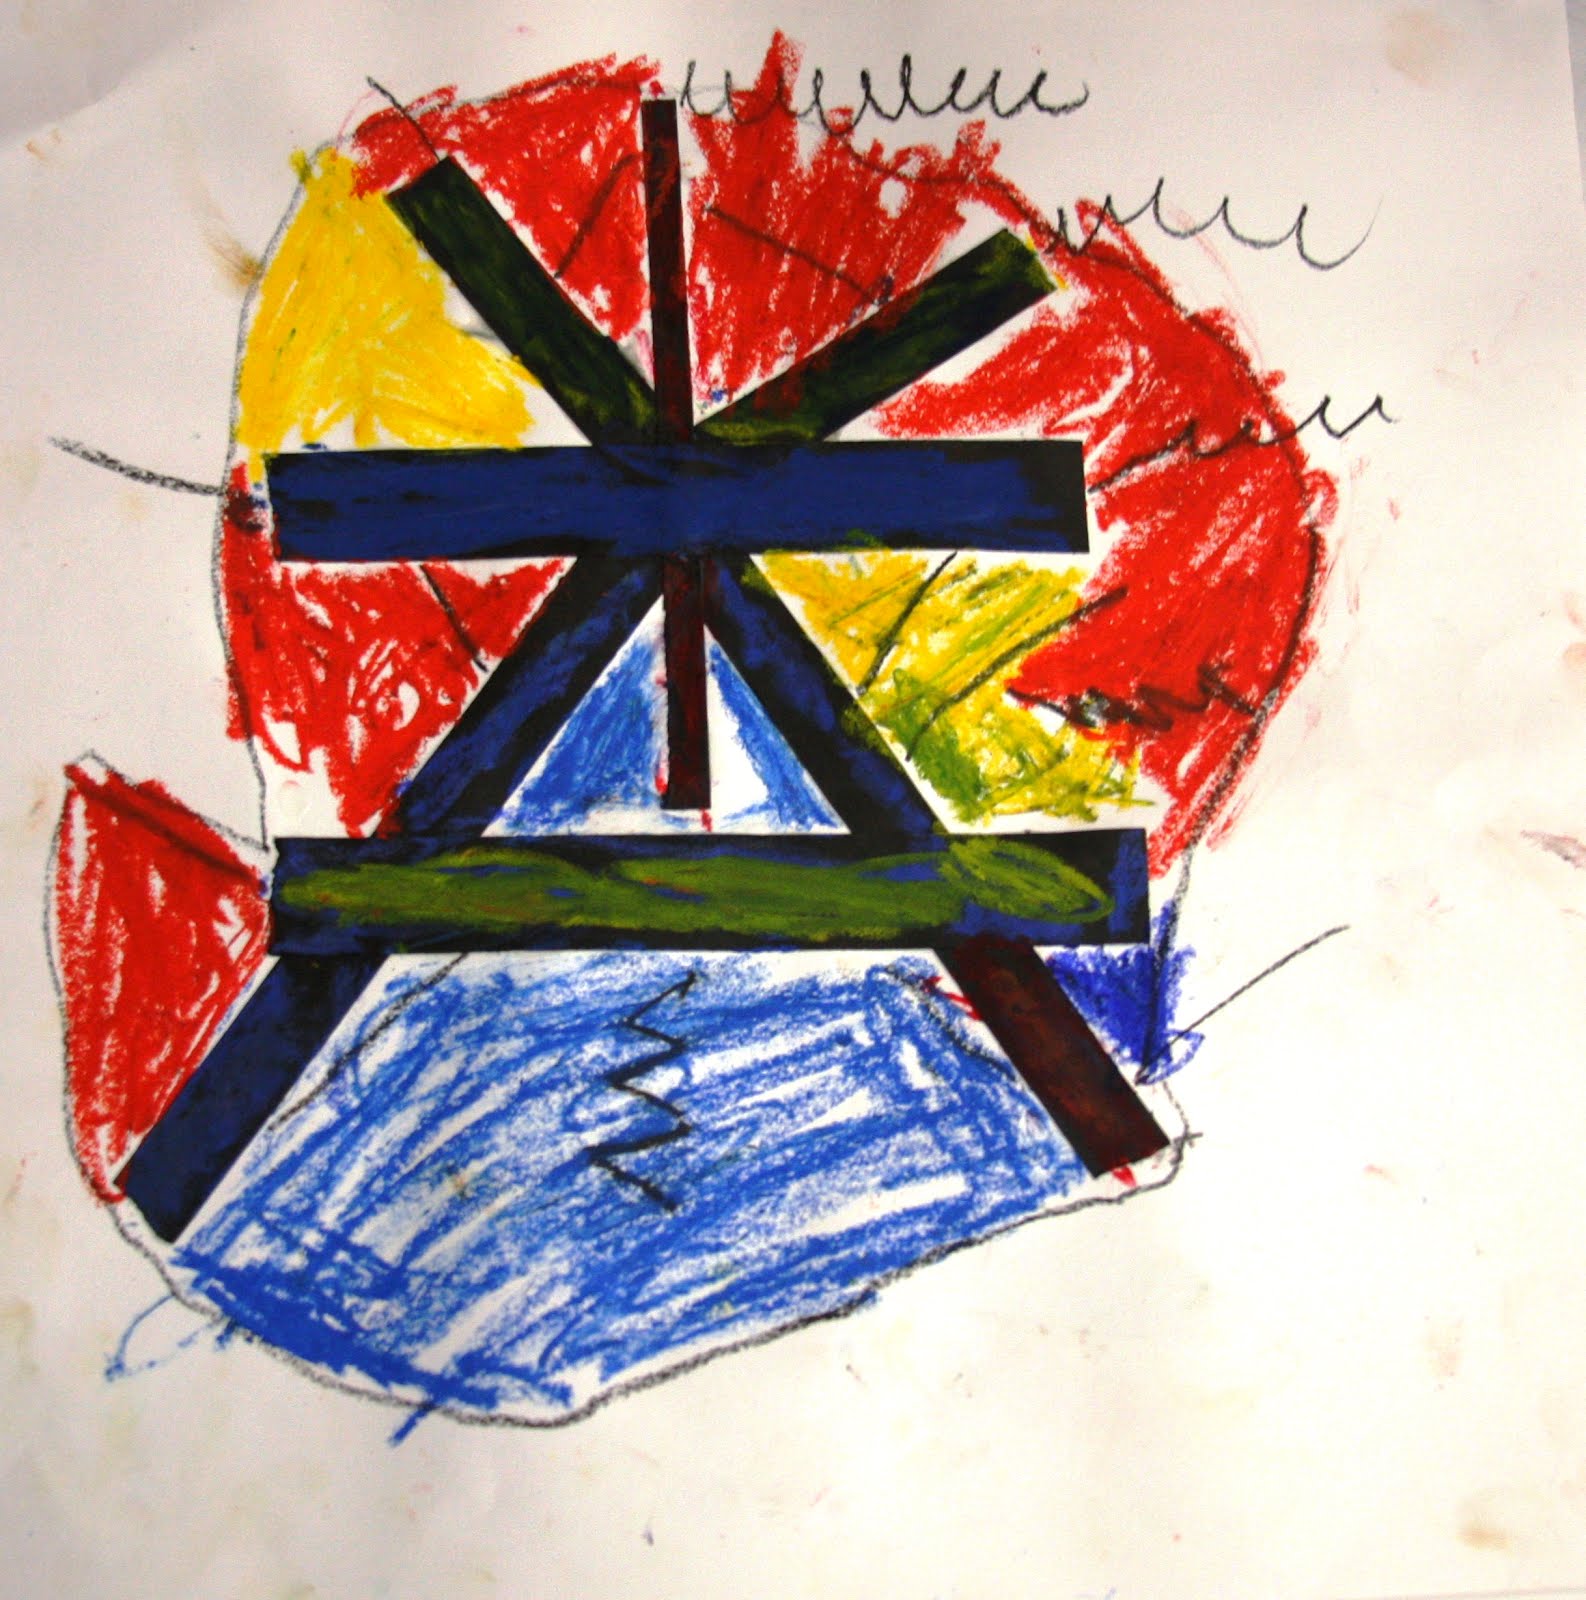
In the weeks before to this unit, students had been exploring line in different ways through drawing and painting (click here to see an example of some of the ways we have done this in the past.)  Students were introduced to some starting-point ideas for how to manipulate the flat paper strips to transform them into three-dimensional lines - zigzags, wavy lines, spirals and more!  We referenced the art of origami, and how paper has a physical memory that helps it hold it's shape when you fold or bend it. 
  To attach the lines to their card-stock base paper, students used paintbrushes and cups of glue to paint the glue onto any surface that touched another.  The students shared glue cups and brushes in pairs, which worked out perfectly.  Whenever a new line was glued, we practiced counting slowly from 1-5 Mississippi while holding the ends of each line to help it secure in place.  We worked on these for two class periods so that the students could add details or build on dry secure lines from the day before.
 I originally did this unit with Kinder and First Grade only.  The other students were so excited when they saw them drying in the art room that I decided to try it with Second Grade as well.  For their unit, I added a few specific challenges - overlapping lines, repetition of a particular element, and the use of smaller line segments.

I enjoyed listening to students explain different parts of their sculpture - "this is the long, curly water slide" or "this is the triple loop roller coaster!"  There were also segments that represented cars, people, signs, lights, and more.  I love how naturally young minds understand and utilize abstract symbolism.
A few students chose to make their sculptures symmetrical.  Those compositions stood out in particular - that challenge could be another level of concept/skill to add for an older grade level!
The best part for many students  - they got take their dried sculptures home on the third day.  They were ecstatic!  What a fun, imaginative introduction to sculpture!

Tuesday, November 20, 2012

Catching Up

We have had a fast and busy semester this school year!  There have been a lot of changes to our studio space and schedule, so I thought I would take a moment to write about what's new.  I have been documenting artwork and putting together information for some new posts about our current art units; look for those soon!  I am also working on catching up on posts about units from last school year.  Due to our change in studio spaces last year, it became a challenge to find the time to shoot, edit, write, and blog about the lovely works of art that were created.  I hope you enjoy as I work to "display" samples of all the wonderful work from this year and last!

As you may remember, two weeks into last year we lost our dedicated art classroom due to extra-large enrollment numbers at our school.  My students and I worked out of two open pod areas - one upstairs in the fourth grade pod (for the older grade levels), and one downstairs in the kindergarten pod (for the younger grade levels).  The pod areas are common areas directly open to the hallways and surrounding grade level classrooms.  This meant our spaces, though re-dedicated to art only, were open to all the normal activity of the hallway, and students coming and going to their classrooms. There were challenges to this arrangement - space, noise level, storage - but also many successes and learning opportunities (for me and the students!)  Nothing is as ideal as having your own classroom - especially one that was specially designed for making art, with four sinks, large windows, tons of storage, and a kiln room!  However, we were able to set up classroom-like spaces (as opposed to the very challenging "art on a cart" scenario) and had a pretty great year of art-making.  

This year, the art studios were consolidated to one classroom space again (YAY!)  We are not back in our art room, but do have a dedicated classroom in the t-building.  We are so fortunate to have a sink out here (most t-buildings don't) and, though the space is more limited than our old classroom, we have room for our most needed furniture and equipment and a decent amount of storage.  We hope to someday move back inside the school to the original art room, but we are grateful for our new studio and all the opportunities it provides!

The most exciting change this year (in my opinion) is our change in schedule!  We are now operating on a three-day art block!  I get to see each set of students K-5th for three days in a row, on a six block rotation.  I still see the students for the same total amount of time as I did last year, but instead of meeting once every six class periods (which meant about 8-10 days before seeing each class again) I get to see my classes for a more streamlined, back-to-back unit of time!  I LOVE IT!  I'm pretty sure the students do too.  Our units are moving along faster and showing greater understanding, behavior is more consistent and calm, and on top of that I am having a much easier time remembering new names!  Science follows the same three-day block rotation schedule, while music, technology, and PE cycle through a few single-day class periods during their time in the enrichment schedule.  The schedule is much more complex than last year, and takes 18 class days per cycle, but our team is making it work without skipping a beat!  I am grateful for such a flexible, open-minded team of enrichment teachers and administrators who were willing to try this out this year. 

I will return after the break with our first official "Little Bits of Magic" and new posts from this school year and last.  Have a Great Thanksgiving!  We have so much to be thankful for here in the art studio at Briargrove.  Wishing you all the same.

Take Care,
Mrs. Gonzalez

P.S. I have an exciting piece of personal news to share when we get back!

Monday, November 19, 2012

Pattern and Texture Journals

Last year, 2nd-5th graders made texture and pattern journals to take home, sketch in, and bring back to school to use for inspiration for corresponding art units.  Students were instructed to draw their patterns and textures from observation, not memory or imagination.
Emphasis on "drawing from observation" and labeling each sketch with important information.
 
Journal covers
We started by doing a few practice sketches in the art studio at the end of class before the students took them home for the week.  After drawing a close up of the pattern or texture they saw around them, students were instructed to label the sketch with the object they had observed the pattern on, and the place where the object was found.  
3rd grade: patterns found at home
2nd grade: patterns found in the art studio
4th grade: patterns and textures found in images of animals in a book from home
These journals provided lots of inspiration for art units throughout the year.  (In keeping with this recent trend of catching up on posts from last school year, I will be following up on this post later on with how the students used their journals for art units.)  Students were encouraged to take them home again or keep adding to them in the classroom whenever inspiration struck.
3rd grade: observations from home
The more specific the labels, the better!
5th grade: patterns and textures from the classroom

We have not had journals in the past (since there are about 900 students at Briargrove) but it was quite successful!  Anyone who lost or wanted to purchase a new journal could trade me one brand new pencil (which we all agreed was a fair cost!)  A section like this in any art journal would be useful to an artist of any age!

Friday, November 16, 2012

Color-Mixing and Composition

Last year during the first semester, following a lesson on exploring materials and learning the primary colors, Kinder and First Graders set to work on creating a unique square composition using line and color.  I have been changing and developing this unit on Mondrian (a common theme in the art-ed world) over the past few years, and I was especially excited by the results last year.

Instead of having the students create a Mondrian-esque study, I chose to allow for as many different solutions as possible within the perimeters of our materials.  We spent a short time talking about his work, and mainly talked about the key elements of the compositions.  I wanted the students to use similar elements as a starting point, but really take them in their own direction.

 For their first lesson, students were given black paper lines in various widths which they could rip into smaller pieces or use whole, arrange and glue in any configuration. For the second lesson, they were given oil pastels in a variety of shades of red, yellow and blue, which they could choose to mix or leave pure.  Because of the diversity of the final works, I thought it would be interesting to arrange samples here in thematic groups. Enjoy!


Some students chose to create a completely primary-colored composition, a pallet similar to that used by Mondrian.  The primary colors are so striking when used side-by-side, aren't they?


Other students chose to mix all of their colors, and filled their compositions with secondary colors and neutral tones. There was a lot of experimentation and discovery as students found out through trial and error what exact color each combination of primaries made. For example, a light blue and red make a soft lavender, while a dark blue and a red make a deep violet!


Some students used the lines to construct recognizable objects or figures - such as a playful group of monsters, a monster truck, and a house.


Others organized meticulous vertical and horizontal grids, also reminiscent of the many squares and rectangles in Mondrian's work.


There were also artists who chose to organize their lines side by side instead of having them intersect.


These radial designs popped up in many classes - comprised of diagonal, horizontal and vertical lines converging at one point, positioned in a central spot on the page.  These compositions had a strong sense of balance and symmetry.


The construction of large,  eye-catching triangles was another recurring theme.  Don't you love the blending of oranges in the work on the right?


I found these "clusters" to be especially interesting. Though constructed of straight lines and some sharp angles, the overall effect feels organic, natural, even figurative!


These colorful, busy compositions are festive and full of movement - like confetti flying through the air!

There were so many different ideas, approaches, and final results.  The students had such a great time exploring line and discovering new colors while making compositions that really reflected each student's unique vision!